Graal Classic Destiny Bomb Quest | Destiny Guard Hat
In this Quest, we will obtain a new bomb as well as a Destiny Guard Hat. There are a couple of requirements that you need to have completed before proceeding with this quest.
Requirements:
You will need an upgraded Lantern. If you do not have a Lantern or you have not upgraded your Lantern read over “Lantern | Lantern Upgrade | Lantern Uses“
The “Fire Fighter Quest” is required to have been completed before starting this quest. If you have not completed the Fire Fighter Quest already feel free to read through our tutorial on that.
Here is the Map Location of the first place you will have to reach to start this quest off.

Reaching this spot is simple. The first step to making it to this location would be to walk past the cave near Destiny, then walk left until you’re in front of the platform shown in the image below. You will have to get to this platform, and you can do that by simply running downwards from where I am standing to jump. Now that you are on this platform, walk straight forward into the entrance way.
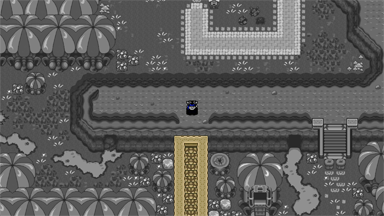
In this room, you will have to complete a box puzzle. This gif shows how to correctly move the boxes so you can get ___

Once you have opened the chest, walk through the right entrance way and continue going that way until you see a new entrance way. Enter through there.
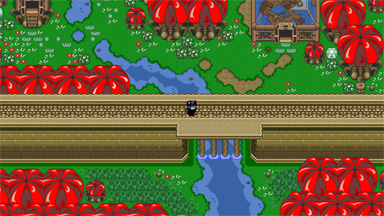
You will end up in this room, open all the chest. In these chests, you will find The Rampart Key and some Gralats.

The Rampart Key you find will appear in the Quest Folder of your inventory.

Now you will have to make it to the escape route you made while doing the “Fire Fighter Quest.” When you get there look for the Destiny Border Wall and walk towards it to jump across.
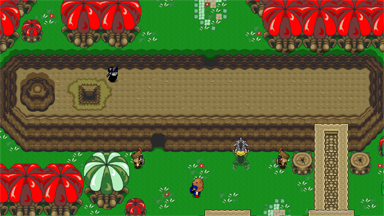
Continue heading downwards until you get to this room. Here you will be able to collect a chest and use your lantern on the other to remove the spider webs. When you open the chest with Spider Webs on it, you will receive a new Hat.

The Image below shows the hat that you will obtain from the chest covered in spider webs.
When you’re done collecting your hat, continue through the door on your right and walk that way until you get to the next area.
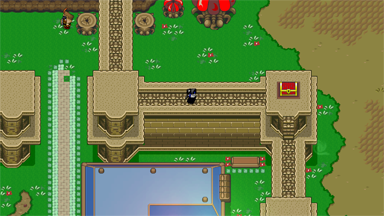
When you reach the next area you will notice spider webs covering the stairway. You will not be able to use this stairway until you burn the spider webs with your Lantern

The Image below shows what the stairway will look like once the spider webs have been removed.

Once you have entered through this stairway, you will notice a couple of Spider baddies. You do not have to kill any of them. Keep walking downwards and enter up the other stairwell.

That stairway you have just gone up through will lead you to the final area of the Destiny Wall.
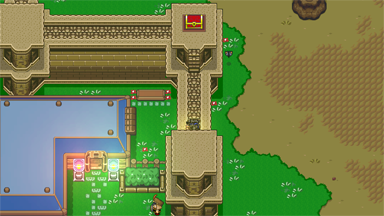
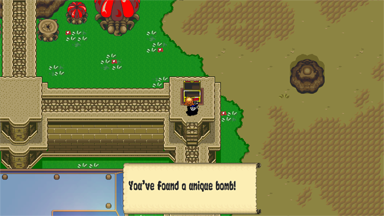
Now all you will have to do is open the chest using your Rampart Key we found together at the beginning of this tutorial, and you’ll be all set with your newly acquired Guard Hat and Destiny Bomb.



 Protected by Patchstack
0 Comments