How to make your own Roblox Shirt + Free Templates
Ever wanted to create your own custom Roblox Clothing? In this guide, we’ll cover everything you need to know about making your very own Roblox Shirts and Pants.
How to Make a Roblox Shirt
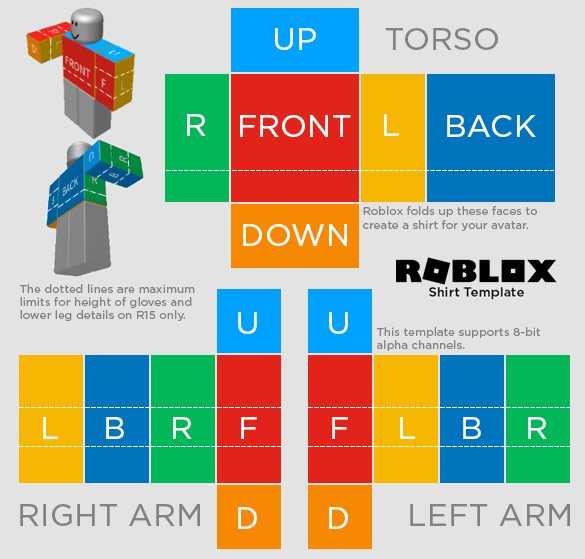
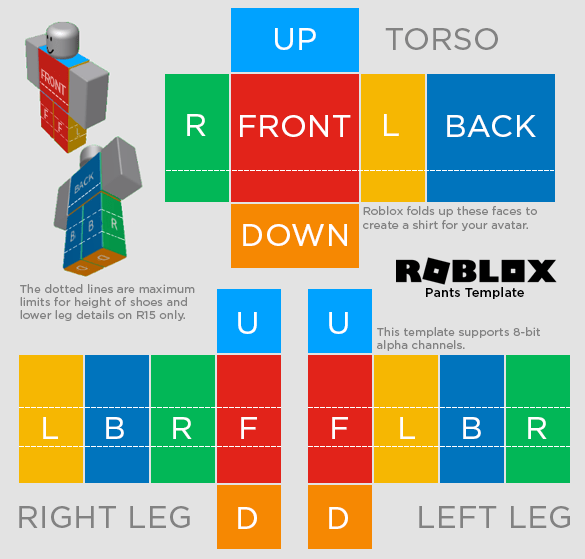
Download the Roblox Shirt and Pants Template
The very first thing you’ll need to do before creating any custom Roblox clothes is to download the necessary Roblox Template.
This template is essentially a flat design that the Roblox Platform folds into the shape of a player’s Roblox Character once it is uploaded.
If you’re creating a Roblox Shirt, you’ll need to download the Shirt Template, and if it’s a pants, you’ll need to download the Pants Template.
Selecting an Editing Program
Now that you have downloaded the Shirt Template from Roblox, you’re going to need an Editing Program.
This could be Photoshop, Pixlr E, Medibang among other editing software that you may be more familiar with.
For this Guide, we will be focusing on Pixlr E, this is not a program that I use, however, it’s free and therefore a better option for designers who are just starting out.
Setting up your work environment on Pixlr E
If you don’t already have an account on Pixlr E, I suggest that you create one, all you have to do is click sign up, select the email you’d like to use, and pick a secure password.
Once that’s out of the way click the “Open Image” Button, and select the Roblox Shirt Template you just downloaded.
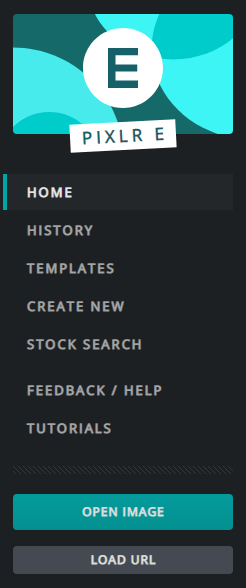
If you don’t already have an account on Pixlr E, I suggest that you create one, all you have to do is click sign up, select the email you’d like to use, and pick a secure password.
Once that’s out of the way click the “Open Image” Button, and select the Roblox Shirt Template you just downloaded.
Create a New Layer
Now you will have to create a new layer. Having this new layer will allow us to create our shirt base without affecting the Template below it.
How to create a new layer on Pixlr E
- Click the “+” icon in the layers section
- Select the “Empty Layer” option
- Your new Empty Layer should appear above the Template
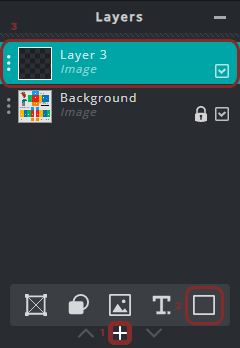
Creating the Roblox Shirt Base Design
The base design is essentially the overall look that we are going for, is your shirt a crop top or a tank top, does your shirt have long sleeves or short sleeves?
In order to design this, you need to make sure that the new layer we just created is the layer you are currently working on. To do that, simply click on that layer.
The tools we will mainly be using for this section of the design process are the Marquee Select Tool (M), and the Pen Tool (P).
Marquee Tool
This tool allows you to select a section of pixels that you’d like to work within, allowing you to draw anything that you want to without affecting the rest of the layers workspace.
To use this tool, simply click “M” on your keyboard or select the tool on the right of the screen.
Pen Tool
The Pen allows you to draw anything that you want using any color of your choice, this is what we will be using to create most of our Roblox Shirt Design.
Creating the Roblox Shirt Base Design
Zoom in by using ctrl + on your keyboard, then use the Marquee Select tool to create a rectangular shape across the Right, Front, Left, and Back side of the Torso.
This shape would end up being the base shape of what the Roblox Shirt will cover over the players body.
If you want it shorter, you’d have to make the selected area smaller.
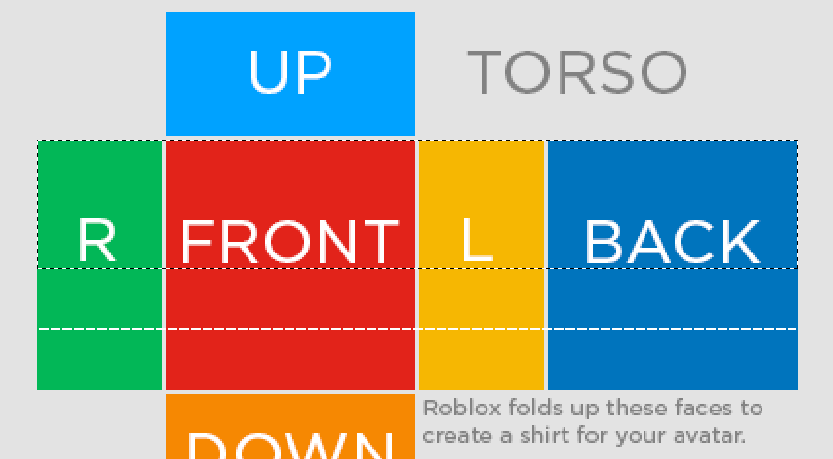
Once you’ve made your selection with the Marquee Select tool, it should look something like the image above. If you’ve made a mistake, don’t worry about it, we’ll fix that by using the “Remove from selection” Option

With this mode, you’re able to remove parts that you do not want to have selected, I will be removing the spaces between each face (front, left, right and back). If you’ve selected more than you needed to, you can remove those parts too.
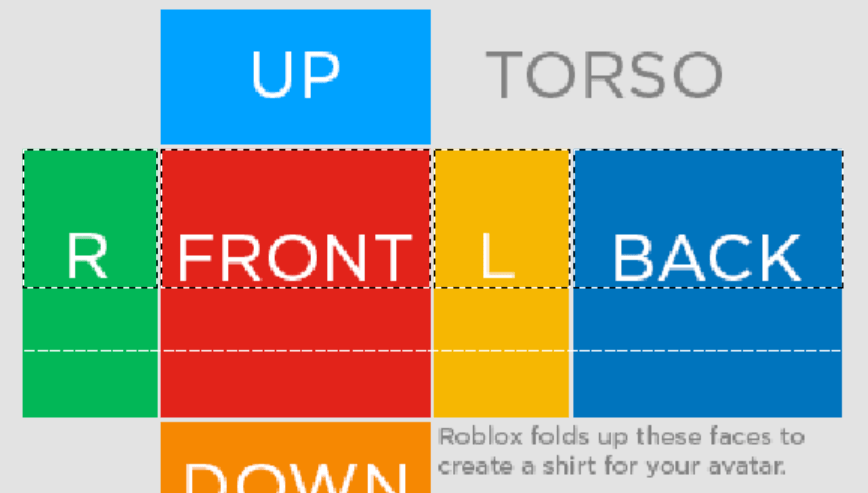
Now all you’ll have to do is select the pen tool by clicking “P” on your keyboard or selecting it from the tool options on the left of the screen.

Make sure to change the variant to “Plain” and the Size to “50”. Then click “x” on your keyboard, and color the entire selected area black.
This will essentially create the base of the shirt without sleeves. You can add whatever you’d like to it.
Roblox Shirt Design Templates
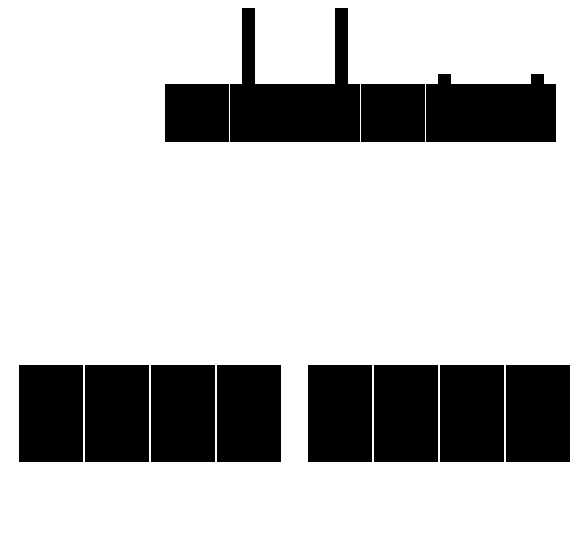
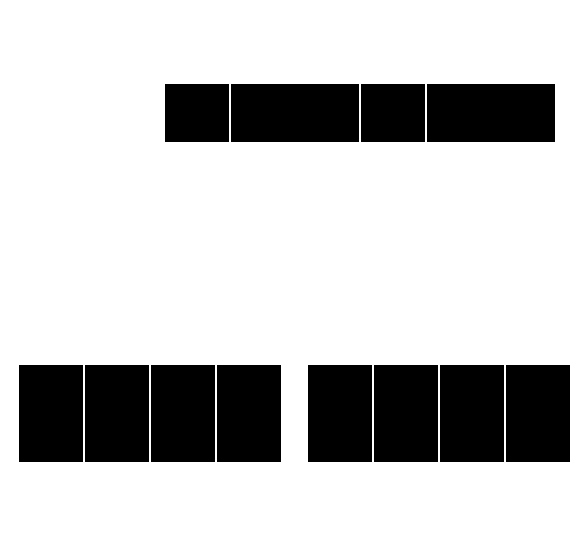
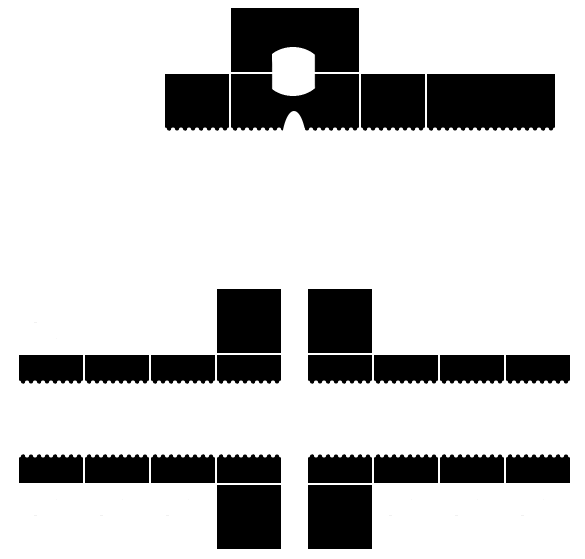
We have created some free Design Templates for Roblox Shirts that you can use as the base design for your own shirt ideas, if you want to download any of them, simply click below.
Editing your Shirt
Now that you have your base design set it might seem very plain and you’ll most likely want to add something else to it.
In this guide, we’ll add a Ying Yang logo, you can add your own logo or anything else you’d like to add.
Download a logo
head to Google and type in keywords related to what you’d like to find.
It is helpful to include the following keywords:
- png – Tells Google you are looking for a transparent picture
- seamless tile – tells Google that you want the image to look as if it is one image if you were to copy and paste it a thousand times next to one another
In this guide, we’ll be using the following image.

Placing your Logo on the Shirt
Now that you have the image you’d like to display on your Roblox Shirt, you simply need to add it to the base design that we’ve just created.
Steps to Add a Logo:
- Create a New Layer by clicking on the + symbol (make sure to select Image)
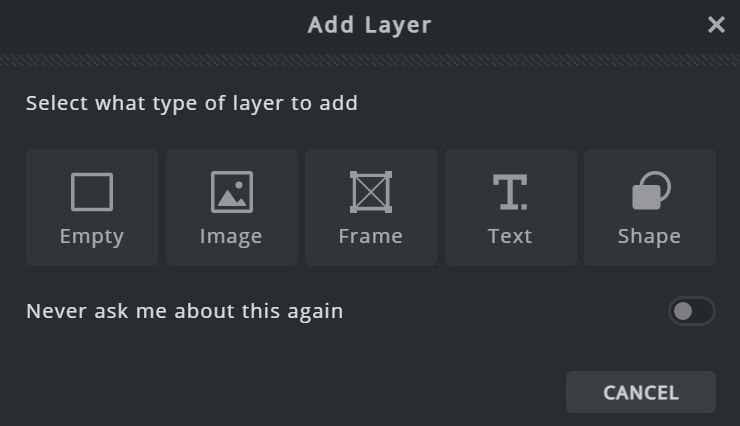
- Select the image you’d like as your logo (make sure that the Aspect is Fixed)
PS: Fixed Aspect will allow you to resize the image while keeping its proportions

- Now you can resize the image to any size that you’d like, in this guide, we’ll center the logo on the front of the shirt.
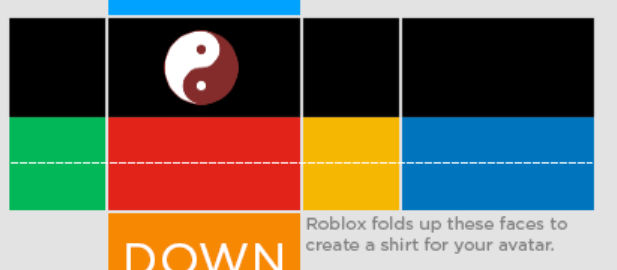
This is how the shirt should look after the logo has been added. There is still much more to do, including shading and adding the sleeves.
Testing your Roblox Shirt without Paying Robux
If you’d like to test how your shirt will look before actually paying Robux for it. The best way to do this is by using Roblox Studio.
Steps to take to test out your Roblox Shirts:
- Download Roblox Studio
- Select the Baseplate Option
- Upload your Images
- Add a Mannequin
- Placing your shirt Design on the Mannequin
Downloading Roblox Studio
If you don’t already have Roblox Studio, now is a good time to download it. You’ll need this application in order to test out your designs.
Select a Baseplate
- Open Roblox Studio
- Click the “New Tab”
- Select the Baseplate option
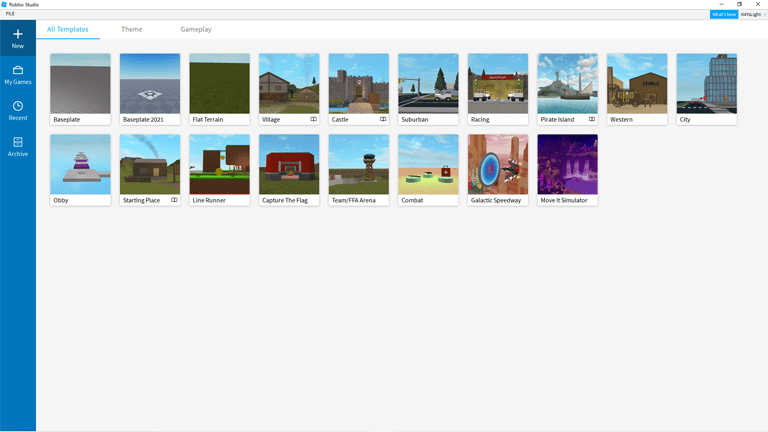
Uploading your Files
Now that you have your baseplate open you’ll need to add in your files. These files are the shirts or pants that you have created.
In order to upload files to Roblox Studio, you’ll need to have the “Asset Manager” window open. Simply click view and make sure Asset Manager is selected.

Locate the Asset Manager Window. This is where you’ll be able to upload your files, however, you’ll need to publish your game first. Simply click Publish, then Create.
How to upload your files:
- Right-click on Images
- Select the “Add Images” option
- Browse your PC for your Images
- Wait for the images to be uploaded
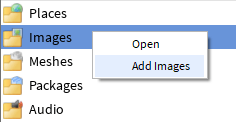
Testing your Design
Now that you have everything set up, all that’s left to do is test your design!
Steps to Test your Roblox Shirt
- Play the Roblox Game you just created.
- Locate the Explorer Window
- Click Workspace
- Click your Player Name (Your Name)
- Click on Shirt or Pants (Depends on what you are testing)
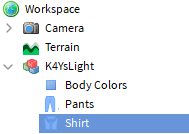
This will open up your Shirts Properties in your Properties Window.
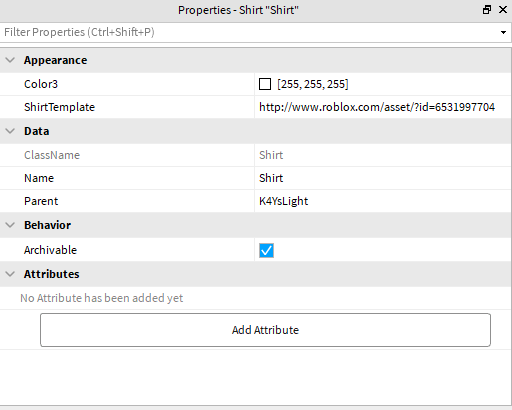
Click on the “http://…” next to ShirtTemplate, and browse for the shirt you’ve just uploaded. Once you find the shirt select it.
Now you can walk around wearing the shirt within Roblox Studio, and make sure everything is looking perfect.
Uploading your shirt To Roblox
If you’re satisfied with the shirt you’ve just created and want to upload your shirt to Roblox itself here’s how:
All you will have to do is navigate to the Developers Section in Roblox by clicking “Create” on the top of your screen.
Then select the “Shirt” option under “My Creations“.
Once you’re there, all you have to do is upload your Roblox Shirt by selecting the file you saved your shirt as, and naming it on Roblox.
PS: Do not use inappropriate names/images while uploading anything to Roblox, as this is against the Roblox Terms of Use and can result in your account being banned/terminated.
If you’ve found this post helpful, have any questions, suggestions, or problems at all, please feel free to comment below.
 Protected by Patchstack
roblox new