Traders Quest (Trading NPC Quest)
In this Quest you go around as a helpful Graalian and assist NPC’s around the map by trading items that will be helpful to them in return for items you can trade with other NPC’s.
Get A Burger For Monty
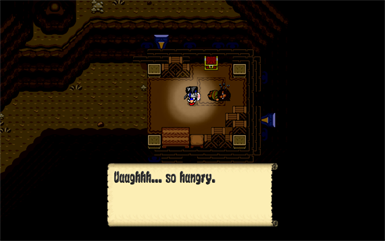
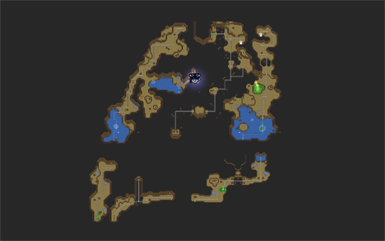
The First NPC you will have to help out is named Monty. Monty is a hungry beggar in need of food. The screenshot below shows exactly where you can find Monty.
There is a place where you can purchase Burgers to Heal up your HP. Each Burger costs 30 Gralats. To help out Monty you can purchase a Burger here and take it to him.
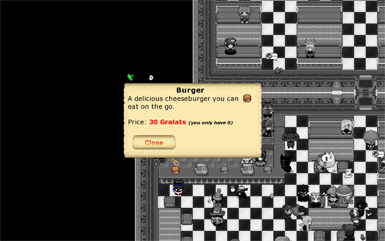
In order to proceed with this quest we will need to farm 30 Gralats to purchase the burger for Monty. You can Get Gralats from cutting bushes.
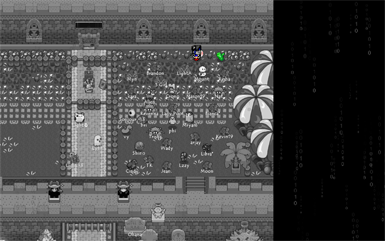
In case you do not know where Burger Refuge is, here is a screenshot of it’s location.
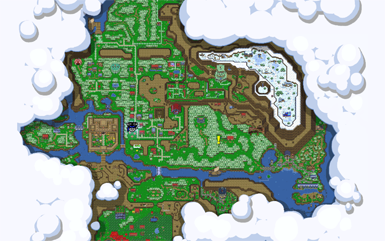
Purchase the Burger here once you have successfully farmed 30 Gralats from those Bushes.
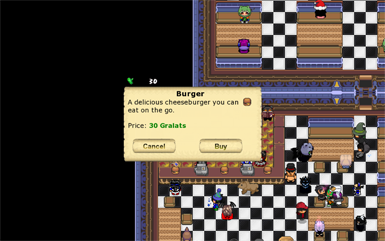
Click on one of your equipped items to search through your inventory for the Burger.

Notice the New “Food Folder” has become available. The Burger will be found in this Folder.

On opening the “Food Folder” you will see the Burger you have just purchased.

Now that you have purchased the Burger, you will need to take it to Monty. To get to Monty you will need to enter a cave North West from where you are right now. The Screenshot below is a Map of this place.
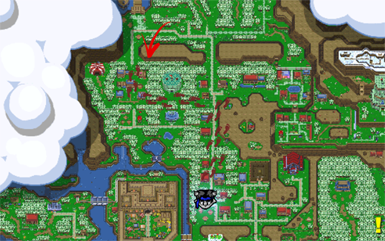
Once you enter the cave, where I’m located is where you are. All you need to do is follow the path and you will reach Monty.
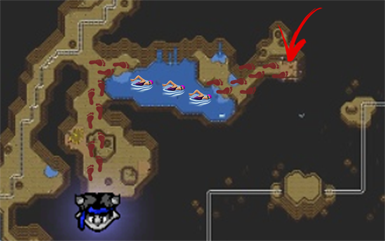
When you get to Monty there will be the option to give Monty your burger. Click yes and Monty will give you something in return.
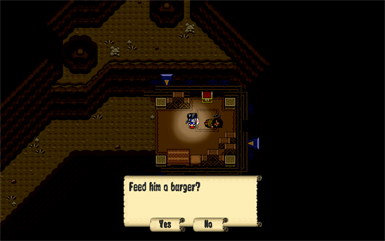
In your inventory, you will have to open the “Quest Folder” to see what Monty has given you.

In your inventory, you will have to open the “Quest Folder” to see what Monty has given you.
Take The Cat Food To Mr. Chinimpuz Who is stuck in a Tree.
Oh look, there’s cat food! Equip this and get ready for your next Objective.

Now that you’ve fully completed your first objective. This cat food will certainly be useful for the next. Follow this trail to get outside so that we can follow the Main Map to your next location.
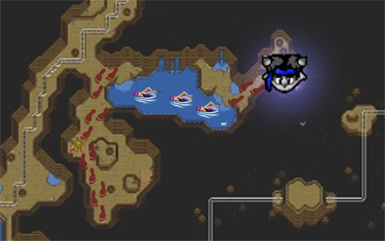
There will be a guy in great need of the Cat Food you’ve obtained from Monty. Below is a map leading to a place called The Joint, where you will find the guy who needs the Cat Food.
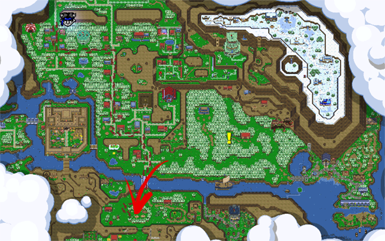
Once you reach your designated destination you will see a person jumping for his adorable cat named Mr. Chinimpuz , but not being able to reach him. Give this person your cat food to help this person bring Mr. Chinimpuz down. He will give you a gift for doing so.
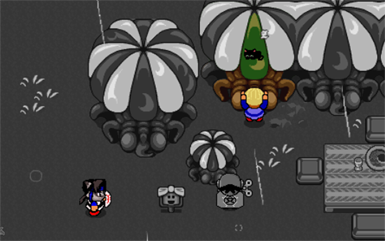
Take The Rag To Raphael
After this, you need to go back to your inventory, into the Quest Folder, and equip your next item which appears to be a Rag

Following this next trail will be your next location which is where you will trade off your Rag for another item that will help you move closer to the completion of this Quest
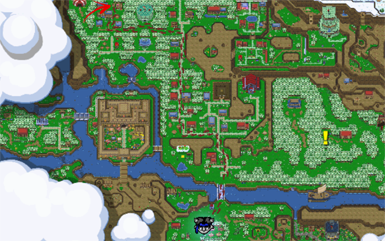
This small building in Mod Town is where you will have to enter to trade in your Rag.
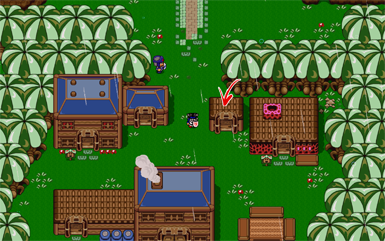
you will see a person frantically running around in here. Give this person your rag to help him out and you will get another item in return
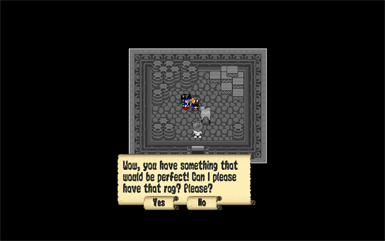
Take The Mirror To The Queen of Graal
Now you will have to enter the Quest Folder in your inventory once again to equip your next item which is a Mirror

You will have to travel back down to a cave to the right of the Angel Clan which where be a person in need of this mirror
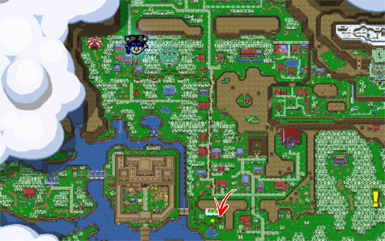
Once you enter this cave you will notice there are many places you could go. Walk straight ahead in the building with the two elf look guys slightly ahead of the entrance way.
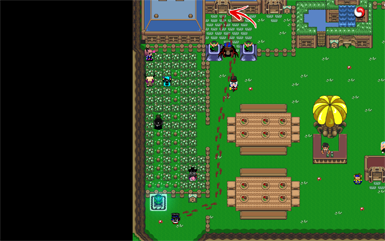
There are many rooms in this house but enter the room directly to the left, Jeb’s room.
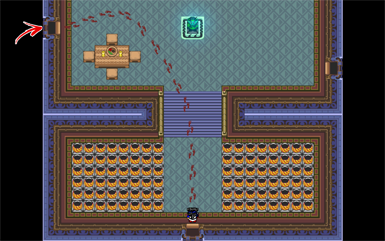
Once you arrive in this room, you will notice 3 doors. Enter the top left door. This is the Entrance to the Bathroom.
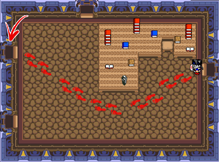
You will see the “queen of undine” in this bathroom.
Give Undine (The Queen of Graal) your mirror to free her from her shackles and you will Obtain another useful item.
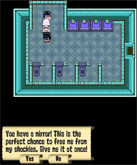
Take The Shirt To York Town
Now looking back inside your inventory, you’ll see a T-shirt in your quest folder which Undine (The Queen of Graal) has given you.

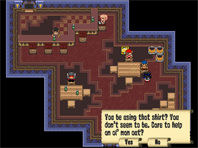
Once you leave the Kill’ems Mansion, following this path all the way to York Town you’ll deliver this T-shirt to “Jackman”.

This is the entrance to the pub where Jackman is chilling at.

Click yes again to receive a special item for helping Jackman out. Now you have completed this objective and you are ready to deliver your next item.
Take Matches to Sara Rei
In your inventory it looks like you’ve got matches from Jackman. Prepare to bring these to your next destination

Follow this trail to reach Sara Rei and you will be able to trade these matches for something else
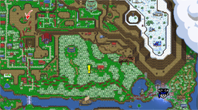
To get into this building where Sara Rei is located you will have to stand right here on top of this cliff (where I’m standing myself in this photo) and run forward to break a hole on top of the roof and jump right in
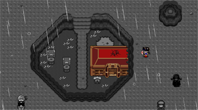
Click yes to give Sara Rei your matches and as usual you will get something in return for this
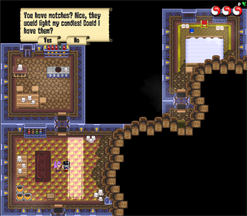
Bringing a Paintbrush to Hyto
In your inventory you will see this paintbrush Sara Rei has given you. Now it’s time to bring this paintbrush to Hyto.

Follow this pathway and you will reach Hyto’s location

Over here is where Hyto’s sitting. Go talk to him!

Click yes to give your Paintbrush to Hyto and you will receive your next item. You are once again another step closer to completing this quest.
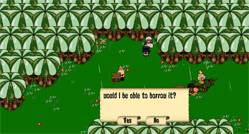
Take the Book to Everest
In your inventory, you will see Hyto has given you a Defense Technique book

You will also notice that a Mask Shop opened up. You are now able to purchase these stylish masks for 2500 Gralats each if you’d like to.
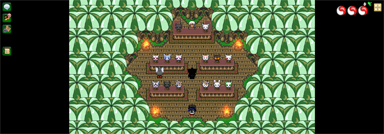
Following the footsteps, to the Battle Arena, you will able to trade this book for another item.

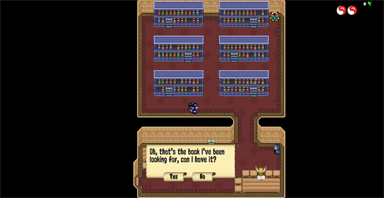
Once you enter the Battle Arena turn and enter the room on the right (We have it highlighted in the image below for your convenience), The Battle Arena’s Library.
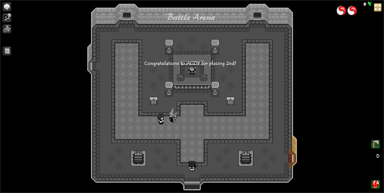
Now that you’ve have entered the library speak to Everest who is pacing back and forth the Library.
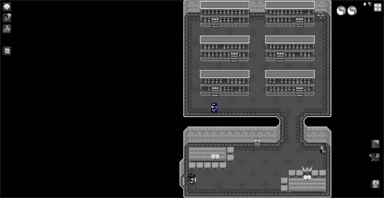
Click yes to give Everest your book and you will receive your next item for helping.
Delivering a Fishing Line to the Toll Guy
Checking your inventory you will notice a Fishing Line has appeared from Everest!

Pursuing this next path, you will be able to reach the Toll Guy who you’ll trade this Fishing Line to receive your Last Item.

Give the Toll guy your fishing line and he give you something in return which you will be able to keep in your inventory forever.

Look it’s a scarf! Now you have fully completed this quest. You can’t do anything with this scarf but show it off but maybe future in graal this scarf will be relevant


 Protected by Patchstack
0 Comments